The Difference Between Tile Polishing and Grinding
Tile Polishing
Tile polishing is an important process to improve the appearance and life of a tile surface. Polishing uses a chemical reaction to close the tiny pores on the tile surface, resulting in a smooth, reflective surface that is both beautiful and durable.
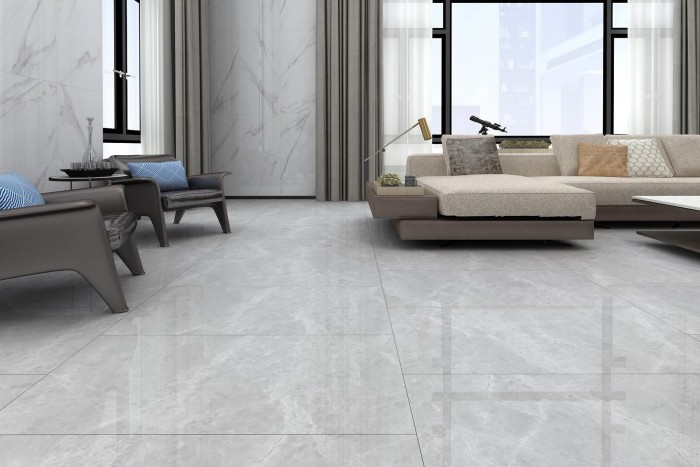
Purpose of tile polishing
Enhanced Reflectivity: Polished tiles have a shiny, reflective surface that brightens up a space and enhances the overall beauty of a floor or wall.
Improves Smoothness: Polishing helps create a smoother surface, making it easier to clean and maintain. A smooth surface also reduces the accumulation of dirt and grime.
Protects the Surface: By closing the tiny pores in the tile, polishing can help prevent stains and moisture from penetrating, extending the life of the tile.
Tile polishing steps
1. Clean the surface
Before polishing, it is critical to thoroughly clean the tile surface to remove dust, dirt, and other debris. This step ensures that the polish works effectively and prevents any particles from scratching the tile during the polishing process.
How to Clean: Use a mild detergent mixed with water and a soft cloth or mop to clean the tiles. For stubborn stains, use a gentle scrubbing pad, but avoid abrasive materials that may damage the tile surface.
2. Apply polish
Once the tile surface is clean and dry, the next step is to evenly apply polish to the tile surface. Polish is usually a chemical solution that is used to enhance the gloss and smoothness of the tile.
Use: Use a clean cloth or applicator pad to evenly apply the polish. Follow the manufacturer's instructions for amount to use and recommended waiting time for the polish to take effect.
3. Polished tiles
After letting the polish sit for the specified amount of time, use a polishing machine to buff the tile surface. Polishing machines come in a variety of types, from handheld devices to large floor polishers, depending on the size of the area to be polished.
Polishing Technique: Move the polisher in a circular or back-and-forth motion to ensure even coverage. Pay attention to edges and corners as these areas may require extra attention to achieve an even result.
Benefits of tile polishing
Aesthetic Appeal: Polished tiles can enhance the beauty of any space, making it more inviting and visually appealing.
Easy to Maintain: The smooth polished surface is easier to clean and maintain, reducing the time and effort required for regular maintenance.
Improves Durability: Polishing can help protect your tile from stains and moisture, extending its life and preserving its appearance over time.
Polishing and Grinding
Purpose of polishing and grinding
Defect Removal: These processes are designed to address relatively large defects on the tile surface, such as chips, scratches and stains.
Surface Smoothing: Through grinding and polishing, the surface of the tile becomes flat and smooth, improving its overall beauty.
Uniform Look: Polishing and grinding help eliminate color variations and ensure a consistent appearance across the tile area.
Polishing and grinding steps
1. Clean the surface
Before you begin the polishing and grinding process, it is critical to thoroughly clean the tile surface. This step ensures that dust, dirt, and other debris are removed, allowing for effective grinding and polishing.
How to Clean: Use a mild detergent mixed with water and a soft cloth or mop to clean the tiles. For stubborn stains, use a gentle scrubbing pad, but avoid abrasive materials that may damage the tile surface.
2. Polish the surface
After the tile surface is clean and dry, the next step is to use a grinding wheel or file to polish the tile surface. This step is essential to eliminate defects and obtain a flat and smooth surface.
Abrasive Tools: Depending on the severity of the defect, you can choose from a variety of abrasive tools, including diamond grinding discs.
Tip: Apply constant pressure while grinding, moving the tool in a circular or back-and-forth motion. Focus on areas with noticeable imperfections, making sure the entire surface is treated.
3. Polished tiles
After grinding, the next step is to polish the tile to achieve optimal smoothness and gloss. This is usually done using a polishing machine equipped with a suitable tile polishing pad.
Polishing Method: Apply polish to the surface of the tile before using the polishing machine. Move the machine in a consistent pattern to ensure even coverage and avoid uneven wear.
Final Touches: After polishing, check the tile surface for any imperfections. If necessary, repeat the grinding and polishing steps to achieve the desired effect.
Best Practices for Polishing and Lapping
Control Speed and Pressure: When using grinding and polishing tools, it is important to control the speed and pressure applied. Applying too much force can cause uneven wear or damage the tile surface.
Use Coolant: In some cases, using water or coolant during the grinding and polishing process can help control heat generation and extend the life of the tool.
Regular Inspection: Check the tile surface regularly during the process to ensure that defects are effectively removed and the desired smoothness is achieved.
Safety Precautions: Always wear appropriate personal protective equipment such as goggles, gloves, and a dust mask to protect against dust and debris generated during grinding and polishing.
-
Online service
-
Official wechat account

-
QQ:844389055
-
E-mail:VIP@zliontools.com
Online Message
Please feel free to give your inquiry in the form below. We will reply you in 24 hours.